Loose toilet seats plague bathrooms everywhere, from cozy family homes to sleek modern apartments. But here's the good news: you don't need a plumber or fancy tools to fix it. With the right toilet seat brackets, you can banish the jiggle for good and restore peace to your powder room.
Why Your Toilet Seat Hates You (And How to Make Peace)
Let's face it most toilet seats loosen up over time. Daily use, moisture from steamy showers, and even aggressive cleaning wear down the hinges. Cheap plastic brackets crack under pressure, while rusty metal ones slip right out of their holes. Before you know it, your seat's rocking like a boat in a storm.

The fix? Sturdy toilet seat brackets designed for real life. These aren't flimsy add-ons; they're heavy-duty heroes made from rust-resistant stainless steel or tough nylon that grip tight and stay put. Pick ones with adjustable arms for a perfect fit on round or elongated bowls, and you'll wonder why you ever tolerated the shake.
Ditch the Drama: 5 Signs It's Time for New Brackets
Don't wait for a full-blown bathroom rebellion. Watch for these red flags:
- The Tilt Test Fails: Lean side to side if it sways more than a playground swing, brackets are shot.
- Visible Wear: Cracks, rust, or stripped screws scream replacement.
- Slippery Hinges: If the seat lifts unevenly or pops off during cleaning, it's bracket betrayal.
- Creaky Noises: That grinding sound? Brackets losing their battle with gravity.
- Safety Scares: Wobbles increase slip risk on wet floors fix it before someone tumbles.
Spot any of these? Time to upgrade.
Unlock Pro-Level Stability in Less than 30 Minutes
Grab the Essentials First
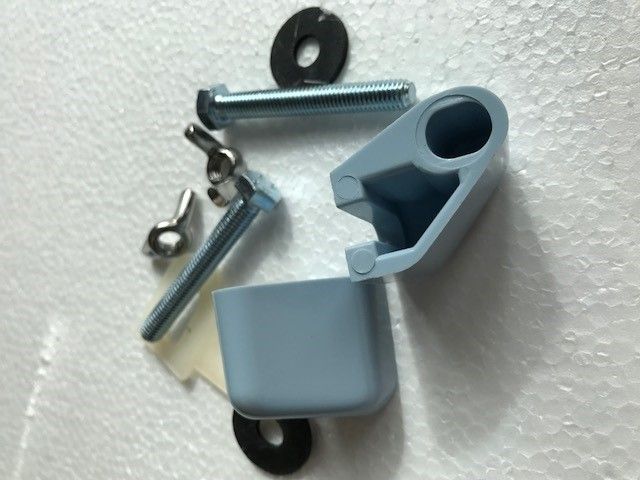
You'll need new toilet seat brackets (get extras for backups), a screwdriver set, rubbing alcohol for cleaning, and maybe some plumber's tape for extra grip. No power tools required DIY heaven.
Step-by-Step Seat Savior Guide
- Prep the Battlefield: Lift the seat and lid. Wipe hinges clean with alcohol to remove gunk no more slippery starts.
- Evict the Old Offenders: Unscrew the nuts under the bowl (use pliers if they're stubborn). Pop off the seat gently set it aside like a patient on the operating table.
- Measure for Victory: Check your bowl type (round or elongated) and hinge spacing. Match your new toilet seat brackets perfectly no guesswork.
- Install Like a Boss: Slide the new brackets into the holes. Tighten screws firmly but not gorilla-style (overtightening strips threads). Adjust arms for even height.
- Test Drive: Sit, stand, wiggle. Solid? You're golden. Wipe down and admire your handiwork.
Pro tip: Apply a dab of silicone lubricant to moving parts for smooth, silent operation that lasts years.
Bonus Hacks to Bulletproof Your Fix
Want it to outlast your mortgage? Opt for quick-release brackets for easy lid removal during deep cleans. Pair with soft-close seats to cut slam stress. And maintain with monthly wipe-downs prevention beats endless repairs.
Quality Brackets: Your Bathroom's Best Friend
Not all brackets are created equal. Skip bargain-bin junk that rusts in months. Invest in durable ones with lifetime warranties they pay for themselves by dodging plumber bills (which can hit £100+ easily).
Say Goodbye to Wobbles Hello to Zen Bathrooms
There you have it: no more toilet tango. Sturdy toilet seat brackets turn chaos into calm, saving you time, money, and sanity. Your bathroom deserves better than a shaky throne grab quality replacements today and step into stability. What's stopping you from a rock-solid seat right now?