Nothing is more frustrating than a loose Jacob Delafon toilet seat when you need reliability the most. That constant movement can disrupt your comfort—but replacing your Jacob Delafon toilet seat is a quick and cost-effective fix.
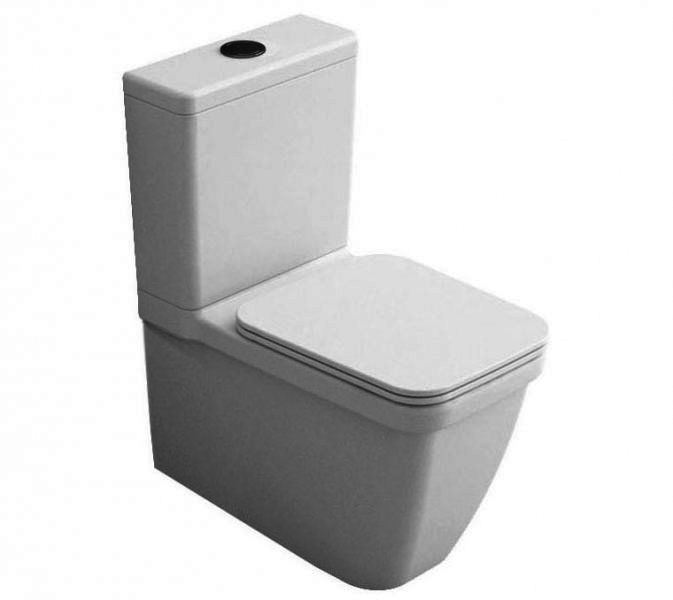
Bathrooms are sanctuaries, right? A place to unwind after a long day. Yet, nothing kills the vibe faster than a loose or cracked seat. If yours is a classic Jacob Delafon model—those elegant French designs known for their sleek curves and timeless style—you know they're built to last. But even the best get worn down by daily use, kids climbing aboard, or just years of loyal service. The good news? You don't need a plumber or a DIY disaster. Quality spares are just a click away.
Unlock the Secret to a Seat That Stays Put Forever!
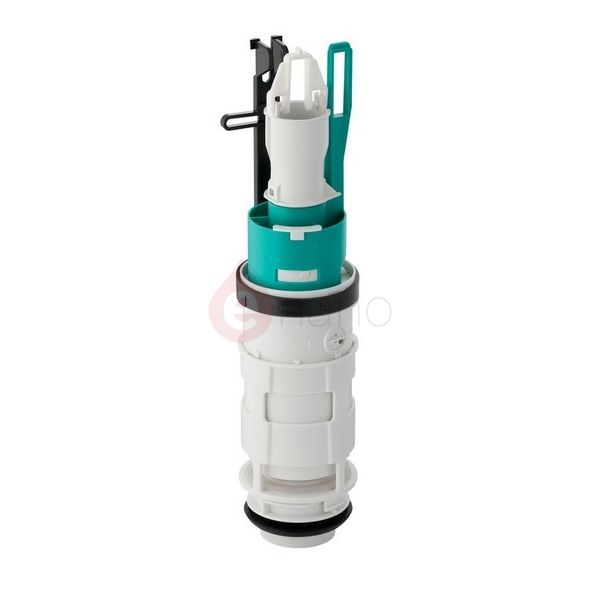
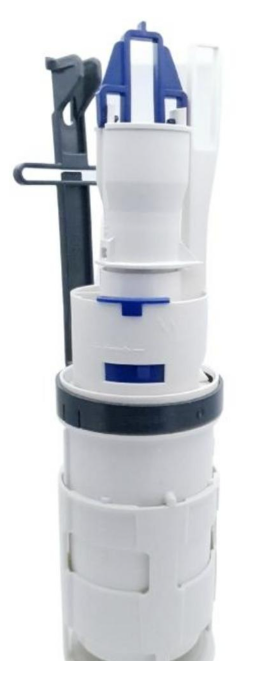
A quick swap, and suddenly your bathroom feels brand new. Jacob Delafon toilet seats are crafted with precision engineering—soft-close hinges that whisper shut, antimicrobial surfaces to keep germs at bay, and durable materials that laugh off stains and scratches. No more slamming lids waking the house at midnight! These aren't your run-of-the-mill replacements; they're perfect matches for your existing setup, ensuring a seamless fit every time.
Why settle for flimsy knockoffs from big-box stores? Genuine spares restore that original luxury feel. Installation? Dead simple—most pop on in under 10 minutes with basic tools. I've heard from folks who've revived 20-year-old units, saving hundreds compared to buying a whole new loo. And let's talk comfort: ergonomic shapes that cradle you just right, plus options in wood, plastic, or cushioned for that spa-like perch.
Why Ditch the Drama? Your Fix Awaits Right Now!
Running to the store mid-crisis? Forget it. Online ordering means spares delivered to your door, often the next day. Since 2013, My Toilet Spares Ltd has been the go-to for plumbing pros and homeowners alike, stocking hard-to-find parts from top brands. Their Hull-based team gets it—they've got just 5 dedicated experts ensuring every order is spot-on. No massive corporation nonsense; just straightforward service from folks who live and breathe bathrooms.
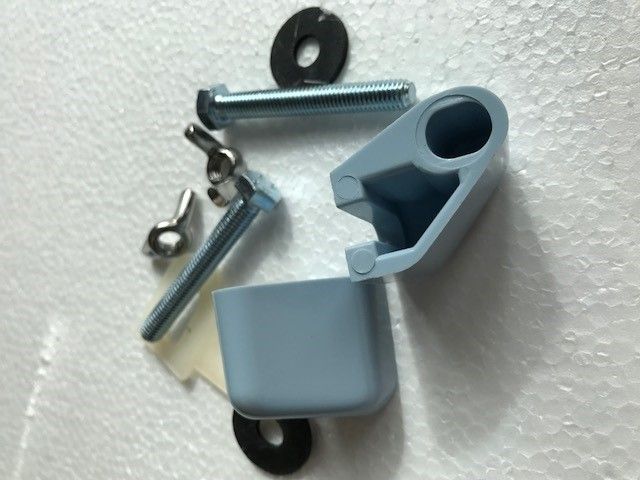
Think about the little wins: no more pinched fingers from loose bolts, easier cleaning with quick-release features, and peace of mind knowing it's UK-made quality. Whether your Jacob Delafon is from the iconic Joy or Opale series, they've got the exact match. Pro tip: measure your bolt spacing first (usually 5.5 inches standard), and you're golden.
Transform Mishaps into Masterpieces Overnight!
Don’t let a faulty Jacob Delafon toilet seat ruin your bathroom experience. Upgrade today with a perfectly fitting replacement seat and enjoy long-lasting comfort, durability, and peace of mind.
Ready to say goodbye to wobbles for good? Reach out now—call 01482 291992 or email customerservice@mytoiletspares.co.uk. Your dream bathroom is one swift fix away!